
Tile Ideas
Simple tiling layouts and how to use them
Apr
When it comes to tiling, we are Preston’s leading experts, here at Tiles 2 Go. And we know just how important it is for your home tiling to be perfect. But one of the common mistakes people make is to use overly complicated tiling layouts. This can make a small space look cluttered or too “busy”, and it can be visually unappealing. Instead, there are many instances where you should focus solely on simplicity. And this is our guide to simple tiling layouts and how to use them.
Grid tiling
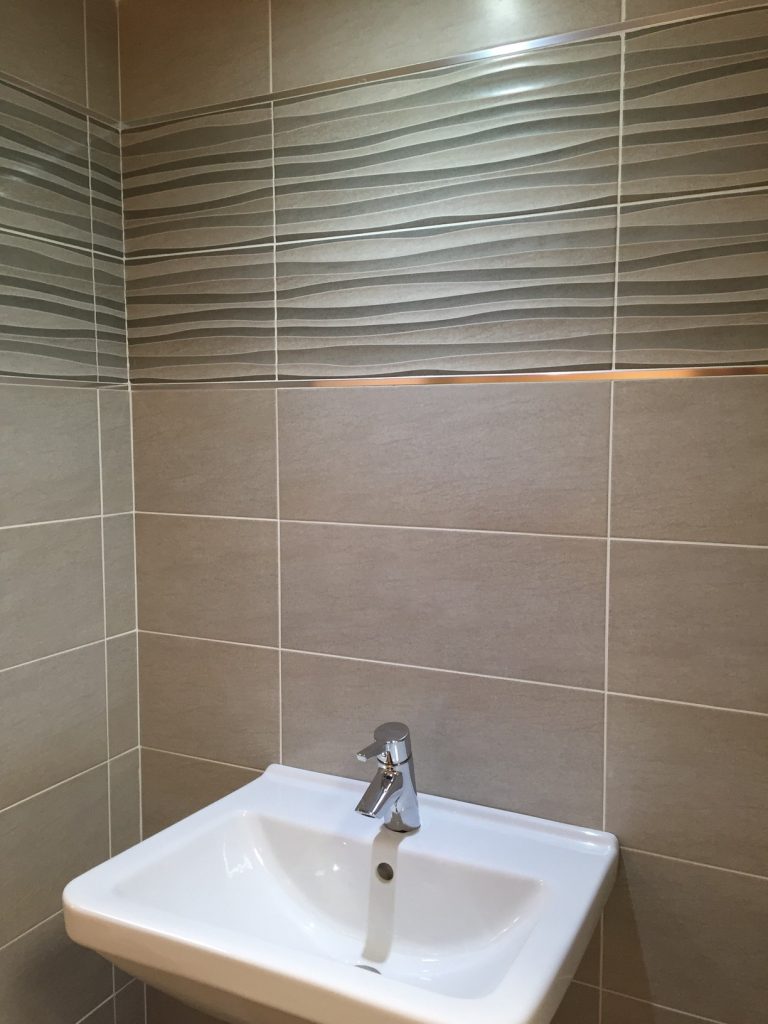
One of the simplest tiling layouts is the grid layout, or the square tiling layout. For this tiling layout, you simply lay your square tiles next to one another. To make this tiling layout stand out, you can use a different coloured grout to really emphasise the square shaped pattern. This is perfect for bathroom floor and wall tiling, although there are some considerations:
- using the grid layout on the floor and the wall can be overwhelming- break it up with some border tiles
- using small tiles for the grid layout in a large space can look very disjointed and broken up because of all the grout lines. In a larger space use larger tiles for the grid layout
- why not use two different tile shades for the grid layout, and alternate colours? This will create an unusual effect.
Brick bond tiling
Slightly more complicated, but still a simple tiling pattern, the brick bond tiling layout is easy to install. Simply lay two tiles side by side, and then one above, directly in the middle of the two below. So it is the grid layout, but the second row is always over the centre of the two tiles below, just like in brickwork. This is a great simple tiling pattern to pair with the grid tiling. Using one technique on the floor, and one on the wall can be a stunning visual feature.
Why not check out our range of tiles today, here at Tiles 2 Go, to begin your own tiling project?